
The ultimate guide to product photography: How to capture your products perfectly

In the world of e-commerce, the first thing customers often see is not the description or price, but the photos of your product. A high-quality product photo can make the difference between a purchase and leaving your webshop.
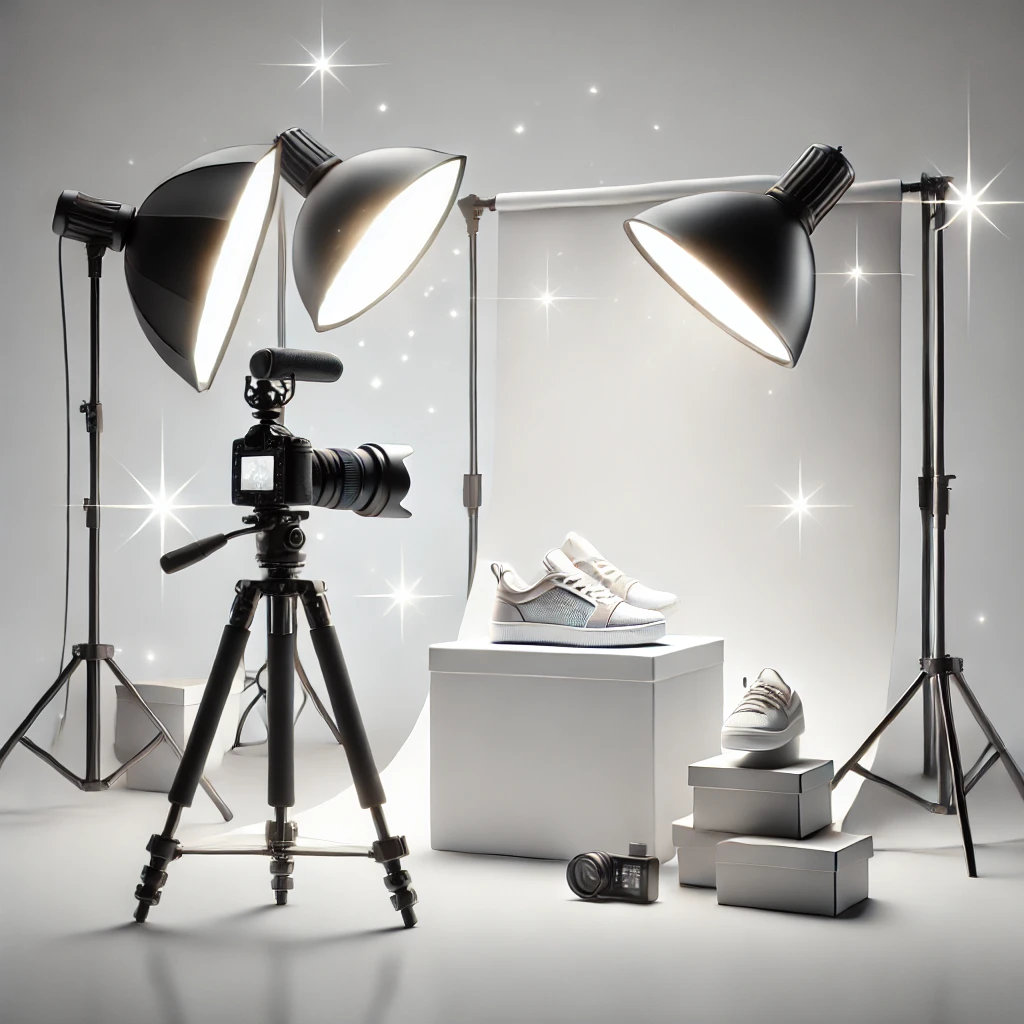
In the world of e-commerce, the first thing customers often see isn't the description or price, but the photos of your product. A high-quality product photo can make the difference between a purchase and leaving your webshop. But how do you ensure that your products look professional in the photos?
In this guide, you will learn the best techniques and tips to take your product photography to the next level.
Why Product Photography Is So Important
Product photography plays a crucial role in convincing potential customers. A well-lit, sharp, and detailed photo inspires confidence and shows the customer what to expect. Additionally, a professional appearance ensures that your brand is taken more seriously.
Basic equipment for product photography
You don't need an expensive camera to take impressive product photos, but a few essential tools do help achieve the best results:
- CameraAn SLR camera (DSLR) or a good smartphone camera can already deliver excellent results.
- TripodEnsure a stable base to prevent blurry photos.
- LightNatural light is often the best choice, but a softbox or ring light can also work wonders.
- BackgroundA white or neutral background makes the product stand out better and ensures a professional-looking photo.
Step-by-step plan for successful product photography
Edit your photos Post-processing is essential for a professional finish. Use photo editing programs like Photoshop or free alternatives like GIMP to correct minor imperfections, adjust the lighting, and make the colors vibrant.
Choose the right background Use a plain, non-distracting background that ensures your product gets all the attention. A white background is ideal for most products, but a contrasting color can also work, depending on the type of product.
Ensure good lighting Light can make or break your photo. Try to avoid shadows by using diffused light, such as natural light or a softbox. Ensure the light falls evenly on the product and avoid harsh shadows.
Experiment with angles Take photos from different angles to show your product from all sides. Close-ups of important details can also help convince customers of the product's quality.
Use a tripod A tripod helps you take sharp, stable photos. This is especially important when working in low-light conditions where the shutter speed is longer.
Common Mistakes in Product Photography
- Insufficient lightingPoor lighting can make your product dark and uninteresting. Always ensure sufficient light sources to properly illuminate your product.
- No consistencyVarying backgrounds or lighting can make your website look cluttered. Ensure consistency in your photos to maintain a professional appearance.
- Too much post-processingAlthough post-processing is important, over-editing can make your product look unnatural. Keep the post-processing subtle and realistic.
Conclusion: Make a Convincing First Impression
With the right approach and a little practice, you can quickly take product photos that impress your customers and boost your conversions. Invest in the right equipment and pay attention to the details – your product deserves to be in the spotlight!
Whether you are just starting out with product photography or want to hone your skills, these tips will help you take your product presentation to the next level.